Luxury Concrete Coating New Concrete Get an estimate

New Concrete by LCC

See your new concrete before we pour.

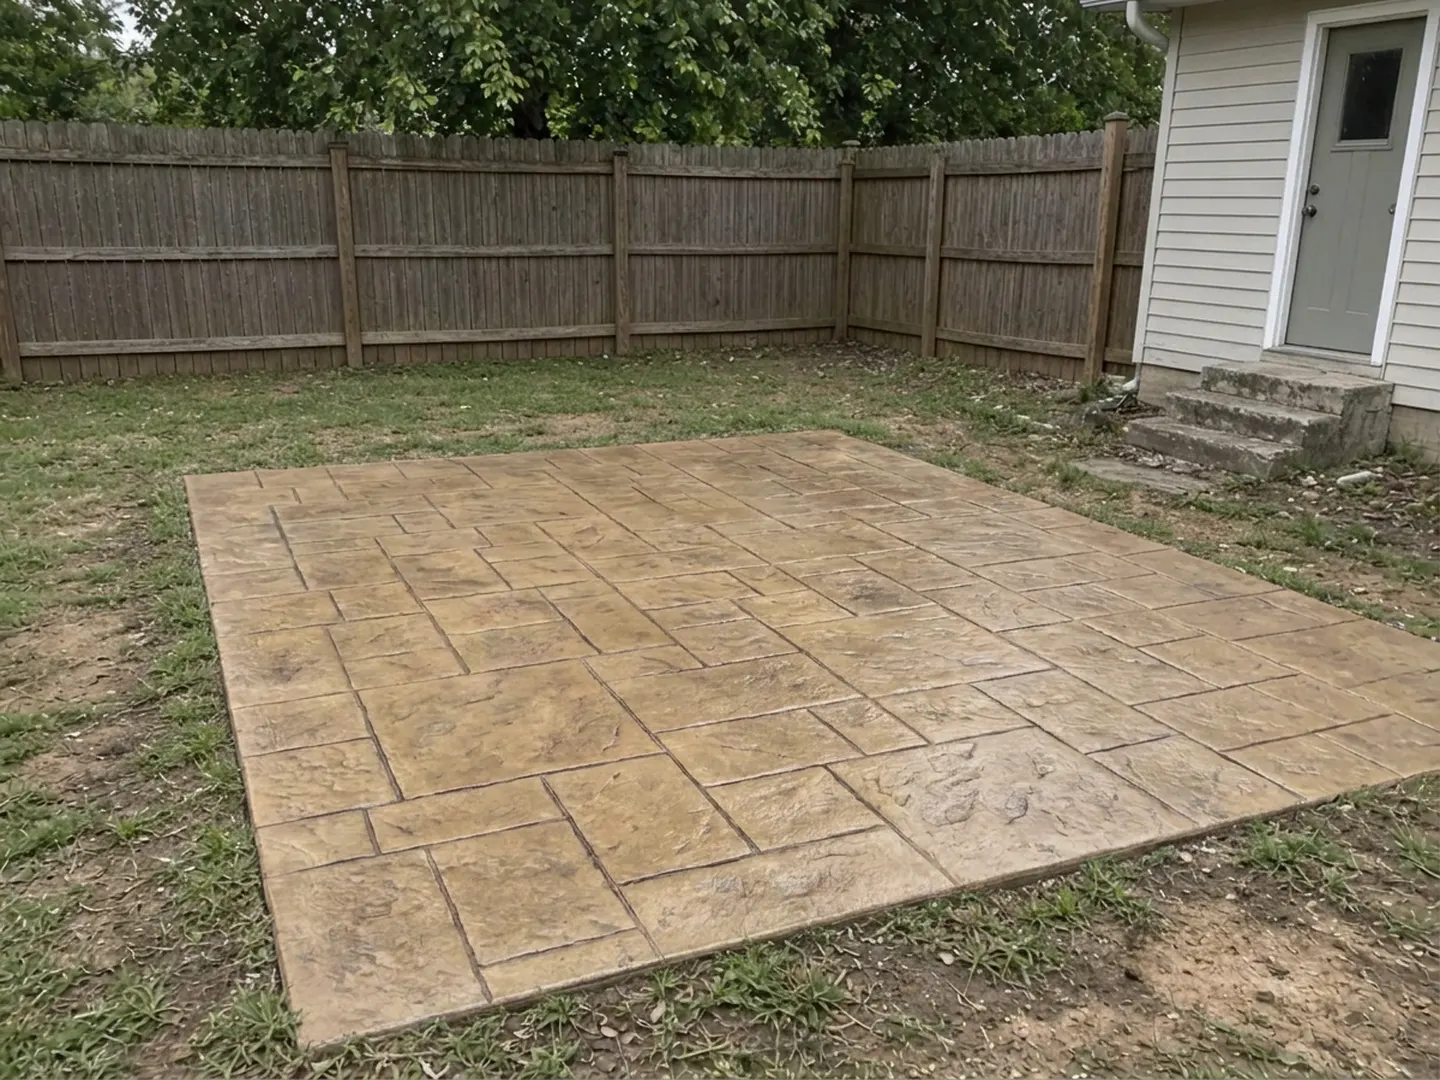
Snap one photo. The AI finds your driveway or patio on its own, like face recognition for concrete, with nothing to outline. Every stamped pattern, color and finish you tap lands on that same photo, ready to spin through, right on your phone.

Demo mode · sample AI renders

Every render is an example illustration, not a photo of finished work or a guarantee of final color, texture or layout. Your written plan and physical samples decide the real thing.

Your photo stays on this device until you unlock photoreal renders and pick a look. Then we store it so every look can use that same photo, and we send it to our AI partner only to make the render. We don't sell your photos. Privacy policy

No outlining, no corners: the AI finds your concrete by itself.

Your design:

Finish
Color
Thickness
Approximate size

Preview only. Real color and texture vary by batch, light and weather; see physical samples at your estimate.

Pattern & finish library

Spin through the styles.

Stamped stone, brick, wood plank, exposed aggregate or a clean broom finish. Drag to spin, tap one to try it on your photo.

Texture and color are example illustrations. Patterns and colors are options we confirm with you at the estimate, with physical samples.

Color

Color, all the way through.

Integral color is mixed into the concrete, and stamped work is often antiqued with a second tone for depth. Tap a color to see it on your photo.

Colors on screen are approximations. Final color is chosen from physical samples, in daylight.

AI photoreal render · in testing

Then make it photoreal.

Our AI render repaints your actual photo with the exact swatch you picked, keeping your house, yard and lighting. One upload covers every look you try. Drag the slider.

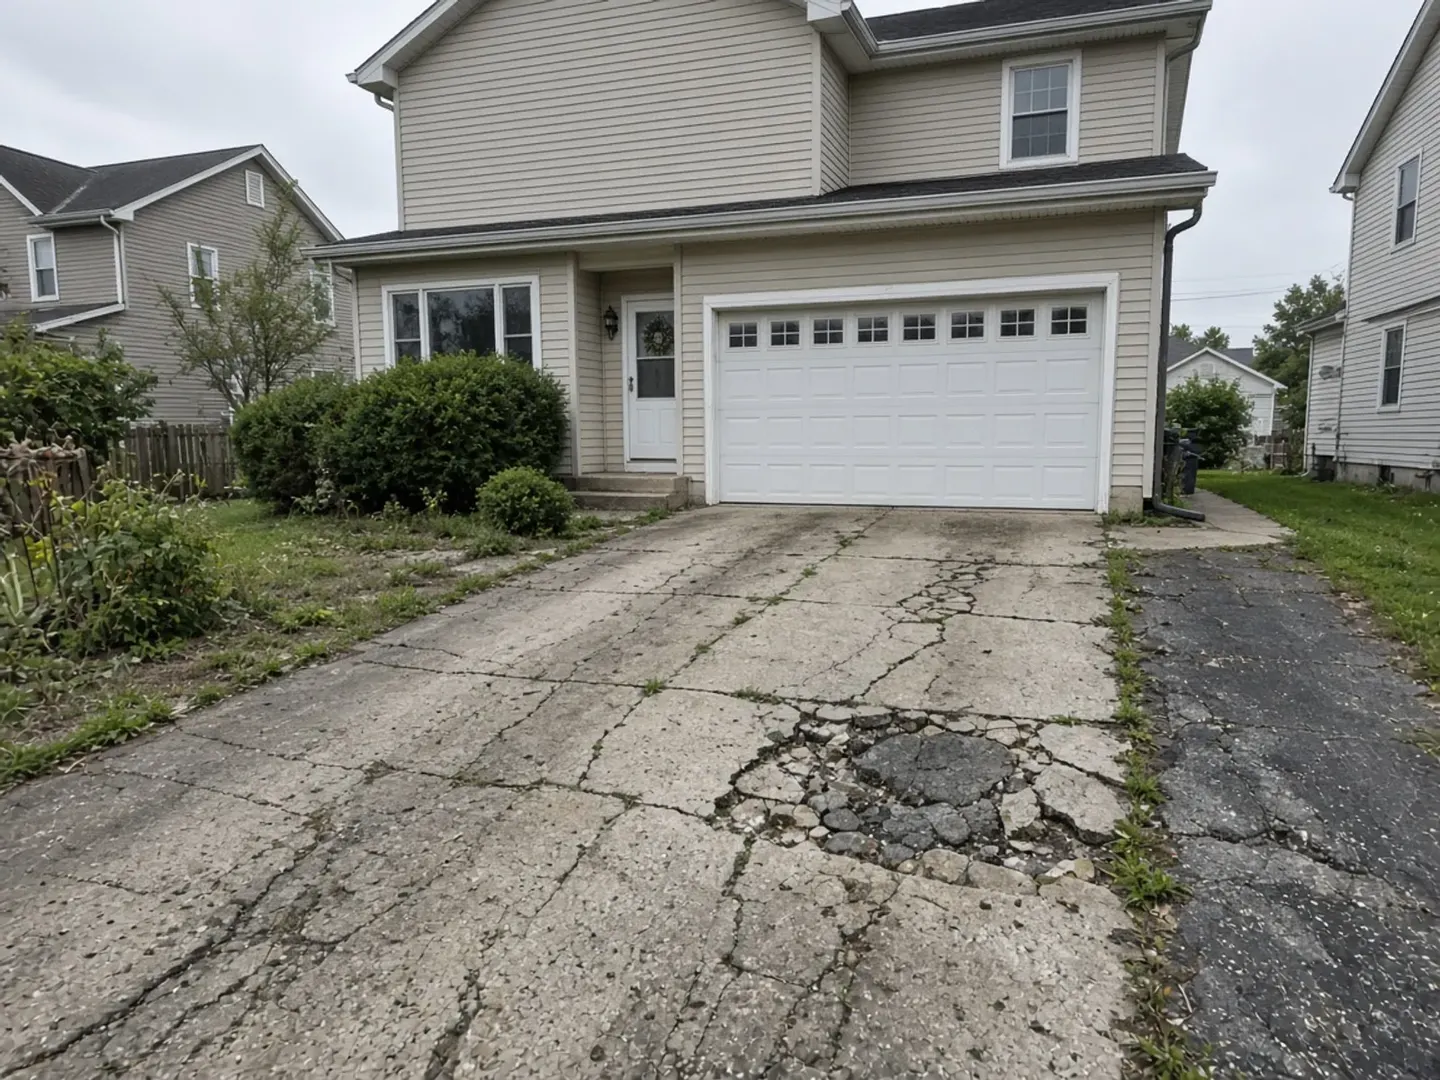
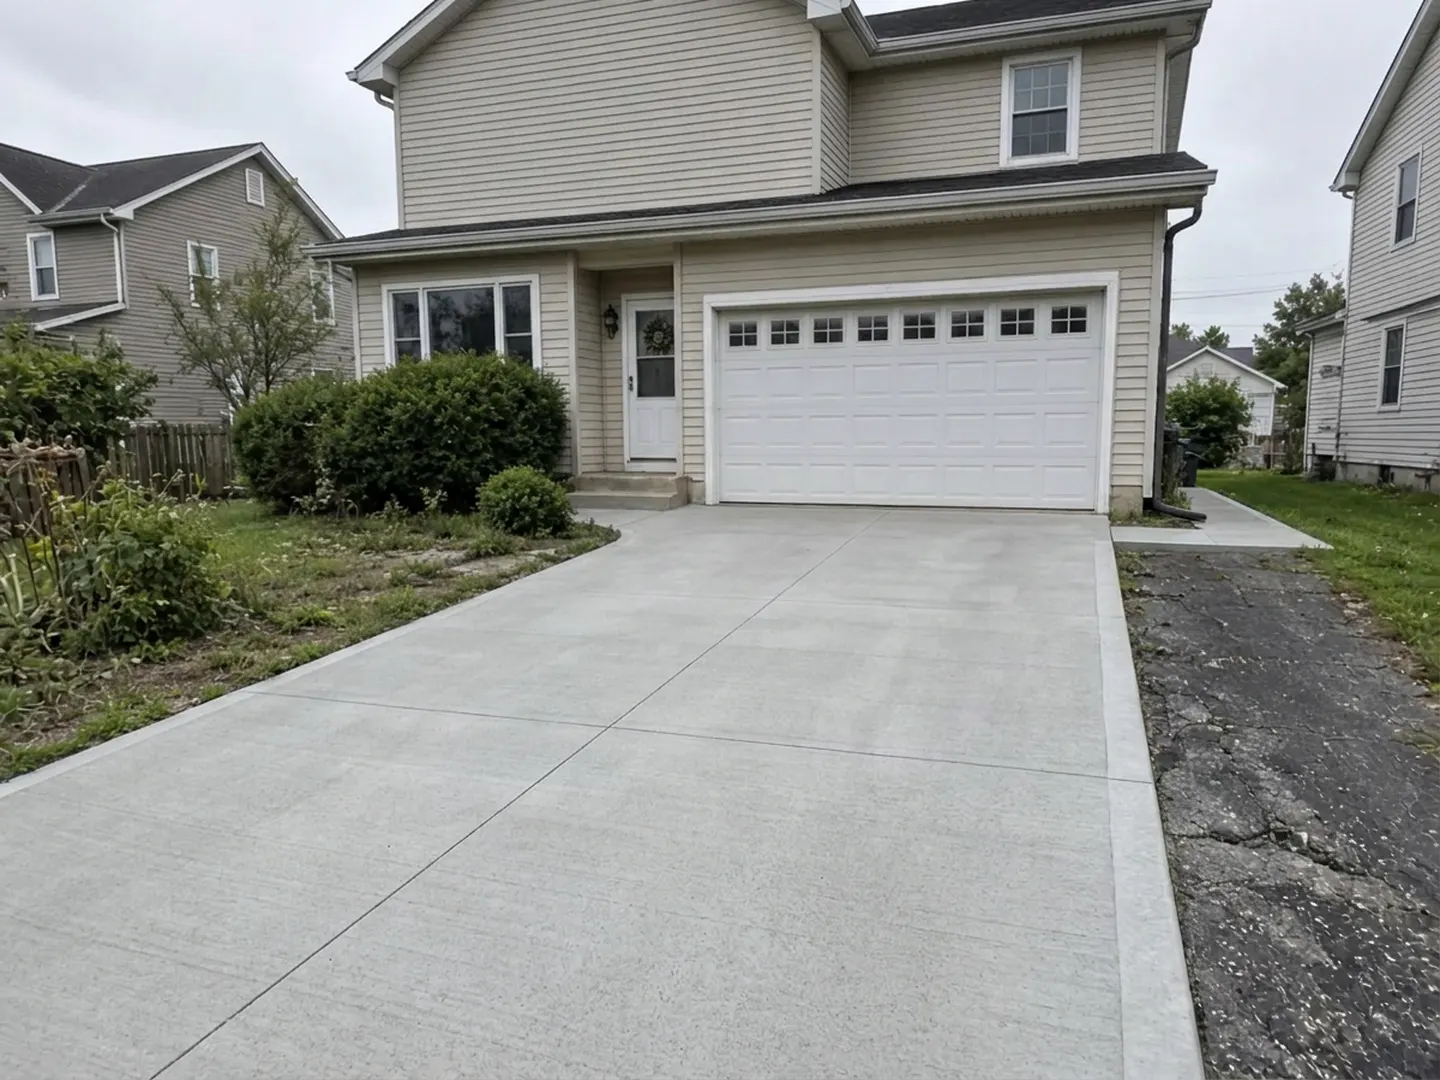
A cracked driveway (left) repainted as a new broom-finished driveway (right) BeforeAfter Example illustration · AI-generated
Broom finish, natural gray. Both photos are AI-generated sample scenes, not LCC projects.
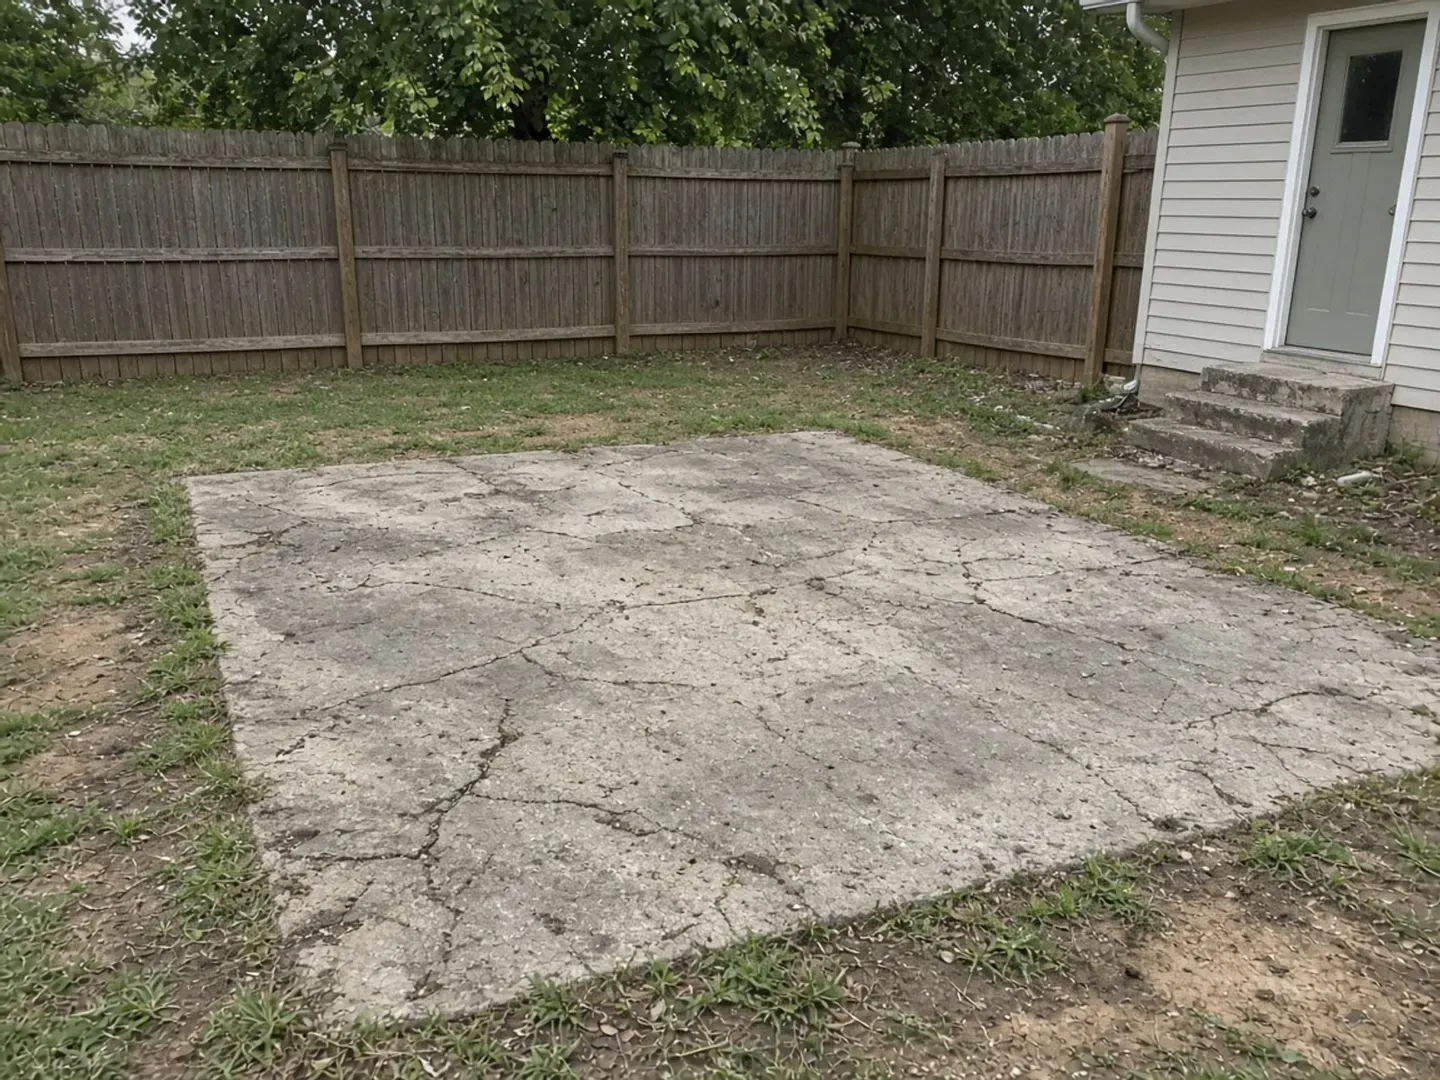
A plain patio (left) repainted as an ashlar slate stamped patio (right) BeforeAfter Example illustration · AI-generated
Ashlar slate stamp, sandstone with antique release. Both photos are AI-generated sample scenes, not LCC projects.

The surface is the part you see. What makes it last is everything underneath it.

Inside the slab

Six layers of decisions.

  1. 01

    Subgrade

    Native soil, stripped of topsoil and soft spots, graded so water runs away from the house, and compacted uniformly. Uniform support is what keeps a slab from settling and cracking.

  2. 02

    Compacted base

    A layer of crushed stone, placed and compacted for even support and drainage. Concrete never goes on frozen ground or standing water, and a dry base is dampened first so it doesn’t pull water from the mix.

  3. 03

    Reinforcement

    Wire mesh or #4 rebar, set on chairs so it sits inside the slab instead of lying on the ground. Fibers can be added to cut early shrinkage cracks. Steel doesn’t stop cracks; it holds them tight.

  4. 04

    Concrete, at your thickness

    Thickness is the biggest factor in how much load a slab can carry, more than strength. For Ohio, the mix is air-entrained and specified for freeze-thaw and deicing salt.

  5. 05

    Control joints

    Concrete shrinks as it cures, so we decide where it cracks. Joints are cut at least ¼ of the slab depth, spaced 2 to 3 times the thickness in feet, in near-square panels.

  6. 06

    Finish & cure

    Finished after the bleed water is gone, textured or decorated, then cured right away, typically for 3 to 7 days, so it reaches the strength and durability the mix was designed for.

Cutaway of a concrete slab: subgrade, compacted base, reinforcement, concrete, control joint and finish
Thickness
Typical use
Car & SUV driveways
Joint spacing
10–15 ft
Joint depth, min.
1¼″

Going from 4″ to 5″ adds about 20% to concrete cost and nearly 50% to load-carrying capacity.

Thickness guide

How thick should it be?

Thickness is the biggest factor in a slab’s structural capacity, more than the concrete’s strength. Here’s the industry guidance. Your written plan sets the exact number for your soil and your vehicles.

Joint spacing: 24–36 times the thickness, kept to 15 ft or less. Joint depth: at least ¼ of the thickness and never under 1″.

Cut it open

See inside every layer.

20 cutaway illustrations of what goes into a slab that lasts: base, steel, thickness, joints, air, curing, finishes and sealers. The parts nobody shows you, explained.

20 cutaway illustrations · swipe, spin or filter by topic

Cutaway illustration of a large pickup truck tire on a thick concrete slab, with glowing lines showing the load spreading through the slab, a rebar grid inside, compacted stone base and soil below
Example illustration · AI-generated
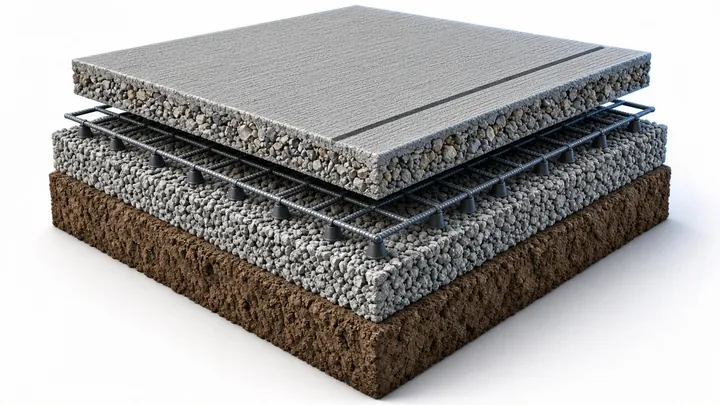
  • Exploded cutaway illustration of a concrete driveway: brown clay subgrade, compacted crushed stone base, a steel rebar grid on plastic chairs, and a broom-finished concrete slab with a saw-cut control joint
    Example illustration

    The whole system

    A driveway, taken apart

    A slab is only as good as what holds it up. From the bottom: native soil (subgrade), a compacted stone base, reinforcement set on chairs so it sits inside the concrete, the concrete itself, joints that control cracking, and a finish on top.

    Industry guidance treats every layer as a decision: soil prep and compaction for uniform support, base for drainage, steel to hold cracks tight, thickness for load, joints for crack control and curing for strength.

    General industry guidance, not a spec for your site.
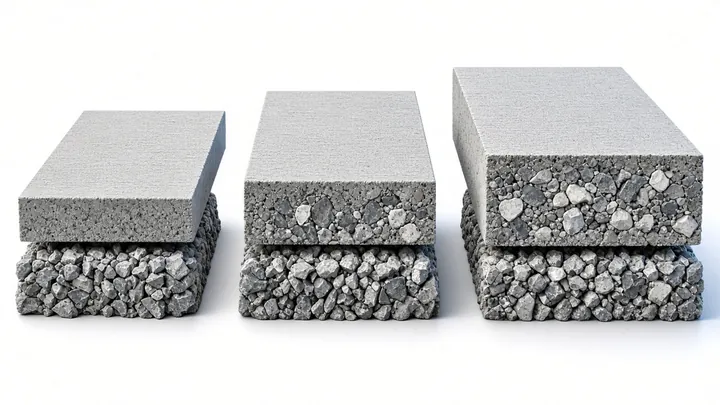
  • Illustration of three concrete slab cross-sections of increasing thickness, left to right, each on a compacted crushed stone base
    Example illustration

    Thickness

    Thicker carries more

    Thickness is the biggest factor in how much load a slab carries, more than the concrete’s strength. Around 4″ is common for walks and patios; 5″ or more is recommended where heavier vehicles park.

    Going from 4″ to 5″ adds about 20% to concrete cost and nearly 50% to load-carrying capacity. ACI 332 sets 3½″ as the minimum for residential slabs on ground. Your written plan sets the number for your soil and vehicles.

    General industry guidance, not a spec for your site.
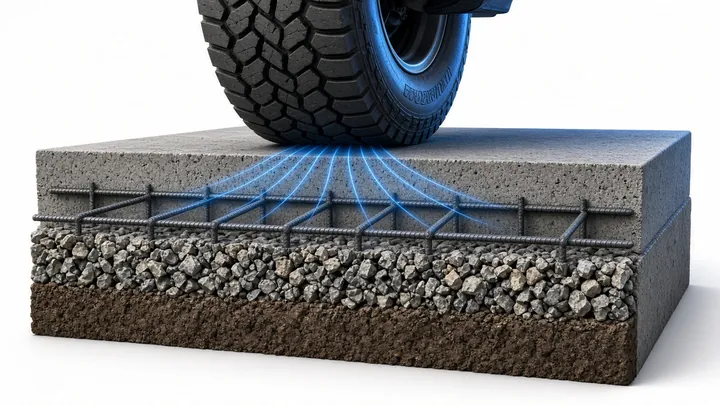
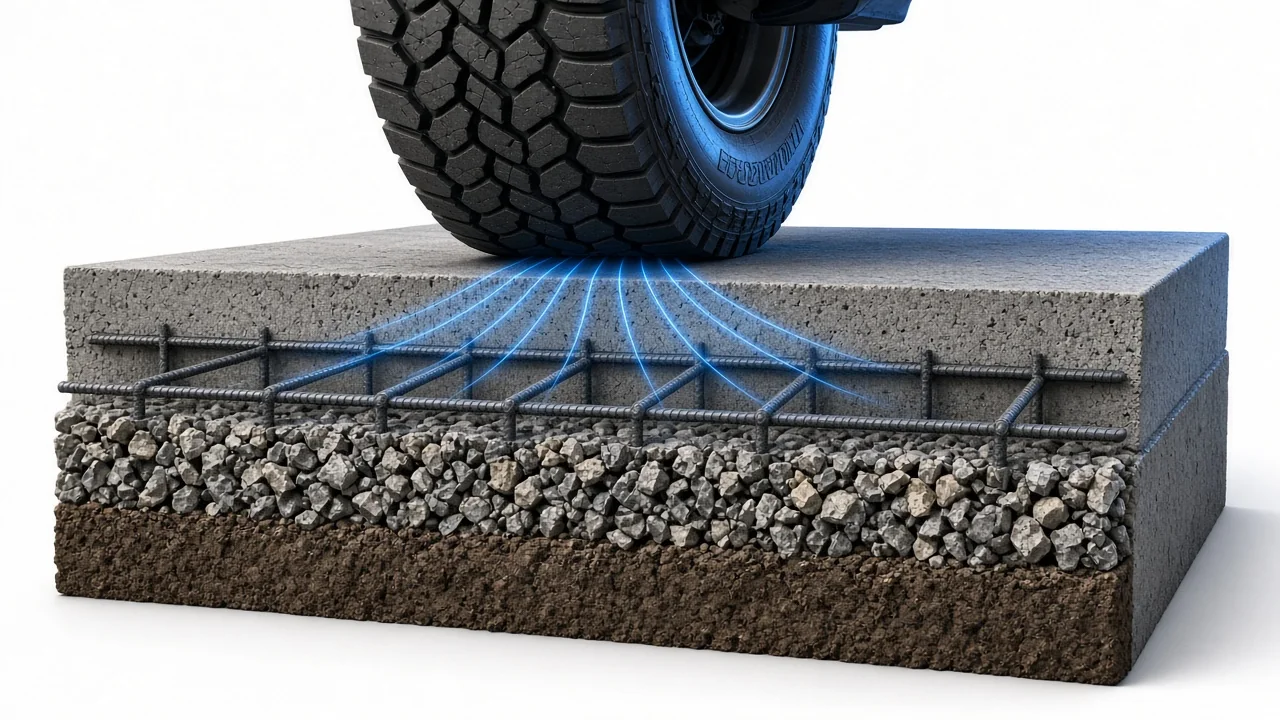
  • Cutaway illustration of a large pickup truck tire on a thick concrete slab, with glowing lines showing the load spreading through the slab, a rebar grid inside, compacted stone base and soil below
    Example illustration

    Thickness

    Built for the truck, not the car

    A slab spreads a tire’s load out over the base below it. Heavier trucks, RVs and trailers concentrate more load, which is why industry guidance moves to thicker slabs and rebar where they park.

    Guidance commonly cited for residential driveways: 5″ or more for larger trucks and RVs, with #4 rebar on a grid at 5″ and up. Delivery trucks and equipment need a site-specific design.

    General industry guidance, not a spec for your site.
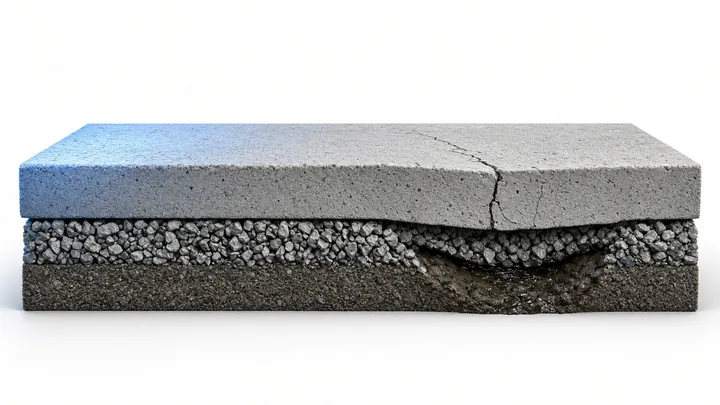
  • Cutaway illustration of a concrete slab on crushed stone, firm on the left and sagging and cracked on the right over a soft, wet pocket of soil
    Example illustration

    Base & subgrade

    Why the base has to be uniform

    Concrete is strong in compression but cracks when part of it loses support. A soft or wet pocket under the slab lets that area settle, and the slab cracks over it.

    That is why soft spots and topsoil come out, the subgrade is compacted evenly and the base goes in compacted lifts. Concrete should never be placed on frozen ground or standing water.

    General industry guidance, not a spec for your site.
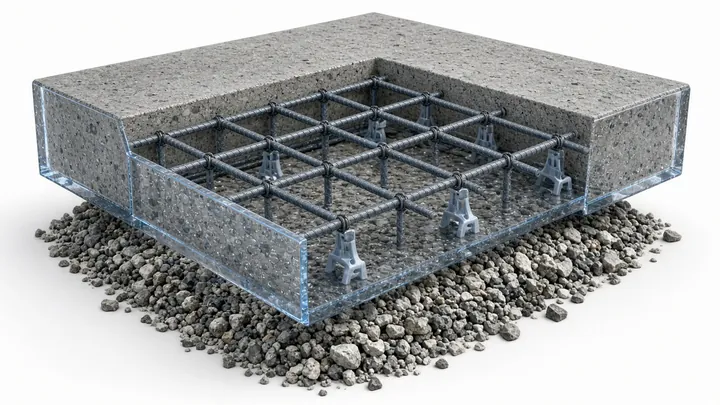
  • Cutaway illustration of a concrete slab shown partly transparent, revealing a tied grid of ribbed steel rebar raised on plastic chairs above a crushed stone base
    Example illustration

    Reinforcement

    Rebar: steel in the middle, not on the dirt

    Rebar only works if it ends up inside the slab. Chairs hold the grid up so concrete flows under and around it. Steel lying on the ground at the bottom does little.

    Steel does not stop concrete from cracking; it holds cracks tight so the slab stays together. #4 rebar on about a 12″ grid is a common driveway detail at 5″ and up. The plan for your slab says which reinforcement is used and why.

    General industry guidance, not a spec for your site.
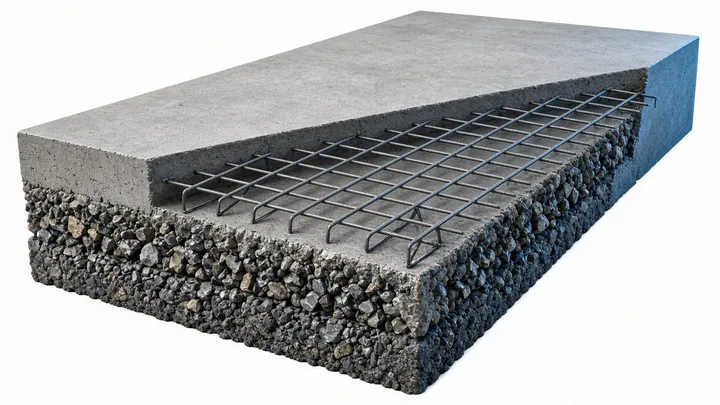
  • Cutaway illustration of a concrete slab cut open to show a sheet of welded wire mesh with square openings supported inside the slab, over a crushed stone base
    Example illustration

    Reinforcement

    Welded wire mesh

    Welded wire mesh is a lighter steel grid that comes in sheets. It is common in thinner residential slabs, and like rebar it has to sit up in the concrete, not on the ground.

    Mesh and rebar both keep cracks from opening wide; neither prevents them. Joints decide where cracks happen.

    General industry guidance, not a spec for your site.
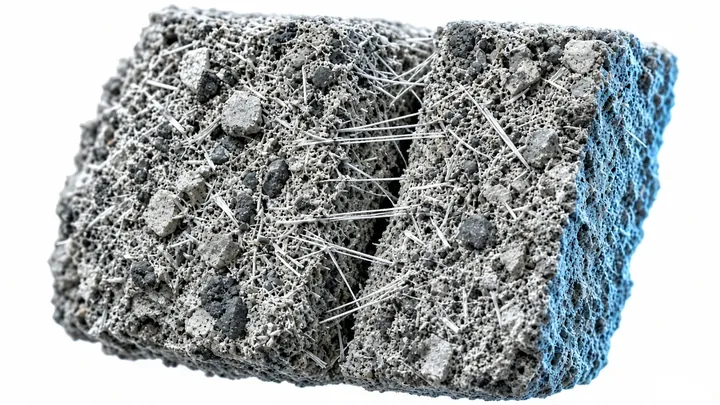
  • Macro illustration of a broken concrete cross-section with fine white synthetic fibers spread through the cement paste and stone, some bridging a hairline crack
    Example illustration

    Reinforcement

    Fiber: millions of tiny reinforcers

    Synthetic fibers are mixed right into the concrete truck. They help reduce early plastic-shrinkage cracking while the slab is curing.

    NRMCA notes synthetic fibers are not a substitute for structural reinforcement. They are often used together with steel or for lighter slabs.

    General industry guidance, not a spec for your site.
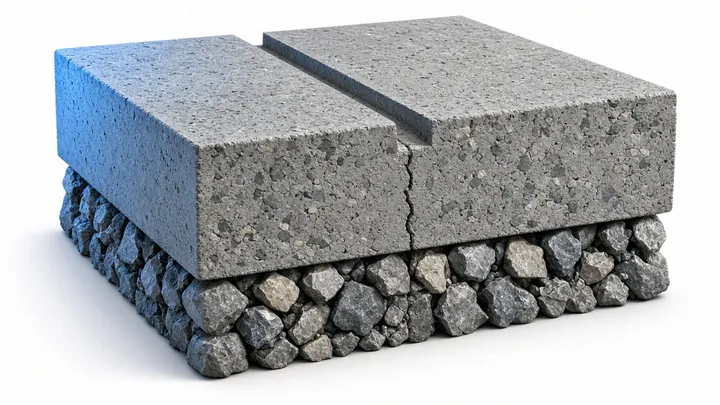
  • Cutaway illustration of a concrete slab with a saw-cut groove on top and a straight crack running down from the groove through the slab
    Example illustration

    Joints

    A control joint tells the crack where to go

    Concrete shrinks as it cures, so it will crack. A control joint is a planned weak line: the crack forms neatly under the groove instead of wandering across the slab.

    Joint depth at least ¼ of slab thickness; spacing about 24 to 36 times the thickness, and 15 ft or less, in near-square panels; saw-cut within about 4 to 12 hours for conventional saws.

    General industry guidance, not a spec for your site.
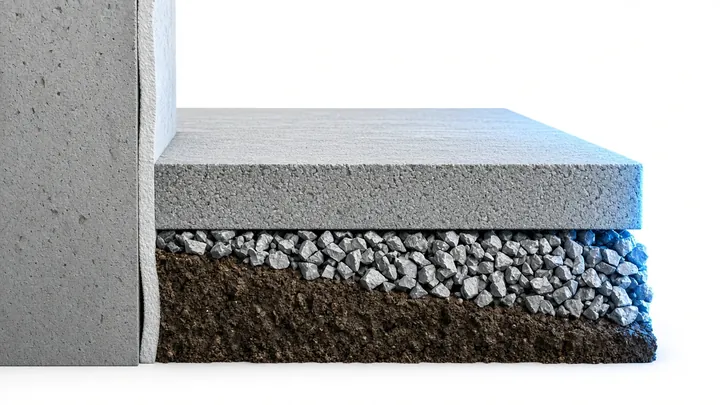
  • Cross-section illustration of a concrete driveway slab separated from a house foundation wall by a thin flexible foam isolation joint, on a crushed stone base over soil
    Example illustration

    Joints

    Isolation joints at the house

    Where new concrete meets the house, garage slab, steps or an existing walk, a compressible strip separates them so each can move on its own without cracking the other.

    Isolation joints go where the slab meets fixed structures. Grade is set so water drains away from the house, at least ⅛″ per foot.

    General industry guidance, not a spec for your site.
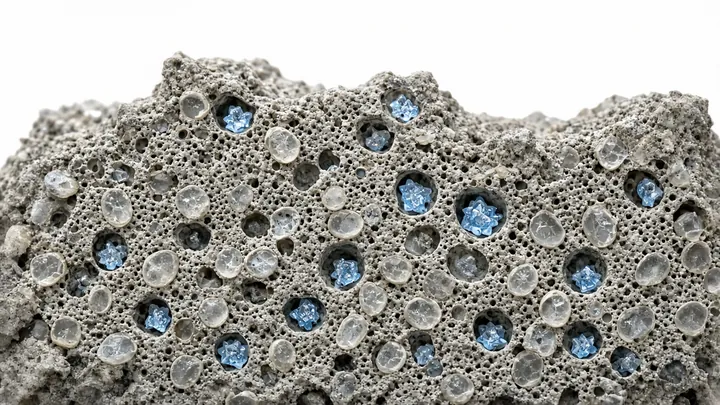
  • Magnified illustration of air-entrained concrete: hardened cement paste filled with tiny evenly spaced spherical air bubbles, some with ice crystals forming inside
    Example illustration

    Ohio winters

    The air bubbles that save a driveway

    Air-entraining admixture puts billions of microscopic bubbles in the concrete. When absorbed water freezes and expands, the bubbles give it room, so pressure doesn’t crack the surface.

    NRMCA recommends about 6% air for exterior concrete exposed to freeze-thaw and deicers; ACI 332-20 calls for 6% ± 1.5% in very severe exposure.

    General industry guidance, not a spec for your site.
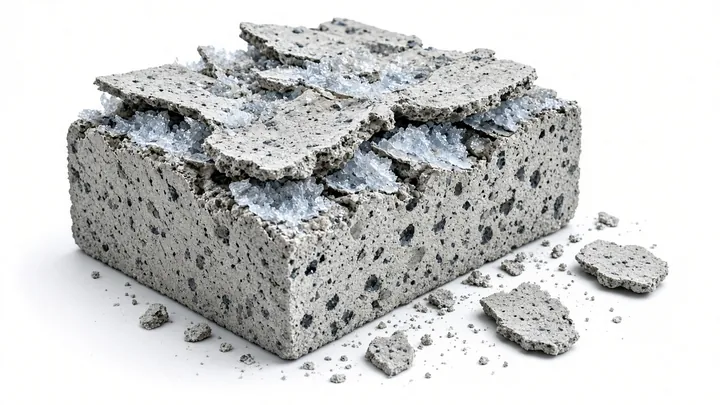
  • Illustration of a concrete block with its top surface flaking off in thin chips, ice crystals in surface cracks and scaled pieces lying beside it
    Example illustration

    Ohio winters

    What winter does to the wrong concrete

    Scaling is the flaking, peeling surface on old driveways. Freeze-thaw cycles and deicing salt attack a surface that lacks enough entrained air, has extra water added, or was finished or cured poorly.

    Industry guidance: air-entrained concrete, about 4,000 psi where deicers are used, no water added on site, finish after bleed water is gone, cure right away, no deicers the first winter, and never ammonium sulfate or ammonium nitrate.

    General industry guidance, not a spec for your site.
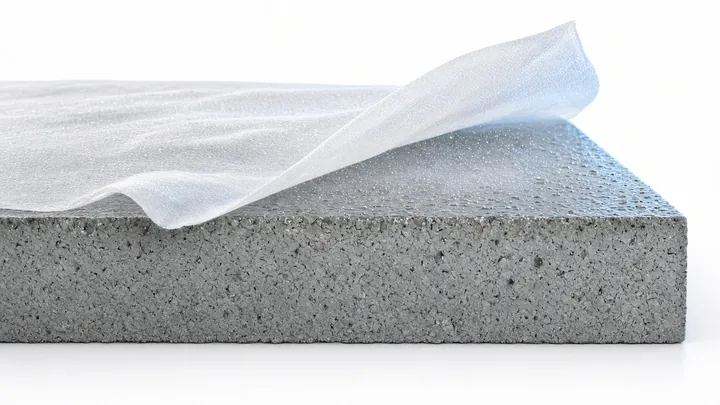
  • Illustration of a freshly finished concrete slab under a translucent curing blanket being peeled back, with water droplets keeping the surface moist
    Example illustration

    Curing

    Curing: the step you can’t see

    Concrete gains strength as long as it keeps moisture and stays warm enough. Curing starts right after finishing and keeps the surface from drying out too fast.

    Curing methods include wet coverings, curing compounds and sheeting; typical curing is about 3 to 7 days.

    General industry guidance, not a spec for your site.
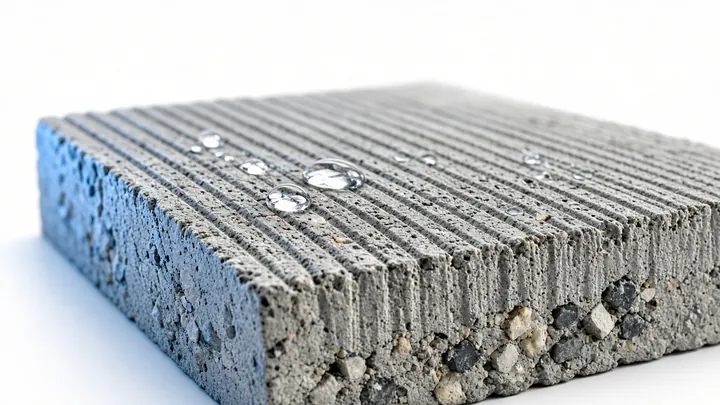
  • Macro cutaway illustration of a broom-finished concrete slab corner with fine parallel grooves on top and water droplets beading on the textured surface
    Example illustration

    Finishes

    Broom finish: grip in every groove

    A broom pulled across the floated surface leaves fine grooves for traction. It is the workhorse finish for driveways, walks and steps.

    For most exterior surfaces, a broom finish is adequate (industry guidance). Stiffer bristles give a coarser, grippier texture.

    General industry guidance, not a spec for your site.
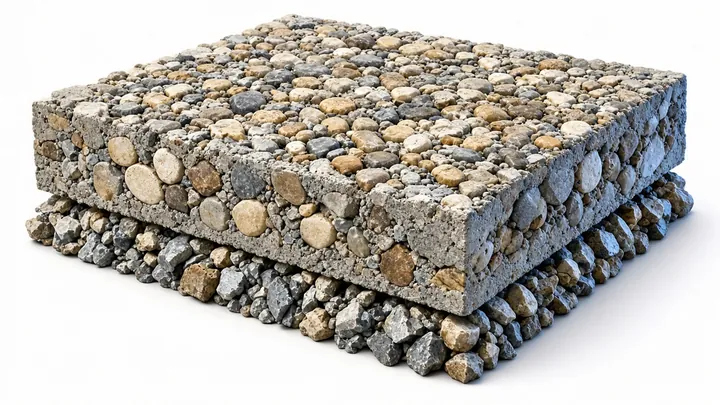
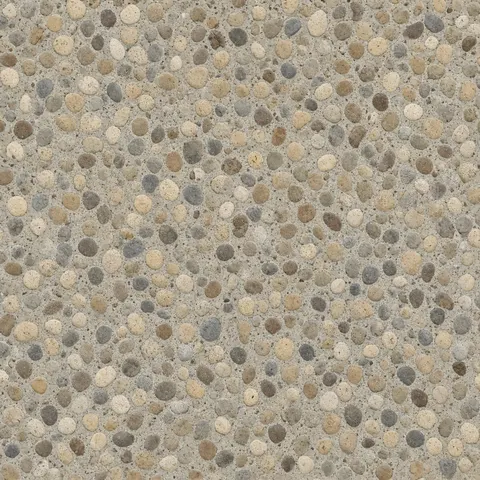
  • Cutaway illustration of an exposed aggregate concrete slab with rounded tan, cream, brown and gray river pebbles on top and through the cut face
    Example illustration

    Finishes

    Exposed aggregate: the stone is the finish

    The top cement paste is washed and brushed away to reveal the stone. PCA calls it rugged, slip resistant and highly immune to wear and weather.

    Where it sees freeze-thaw and deicing salt, PCA says to specify air-entrained concrete with 5% to 8% air and a maximum 0.45 water-cement ratio.

    General industry guidance, not a spec for your site.
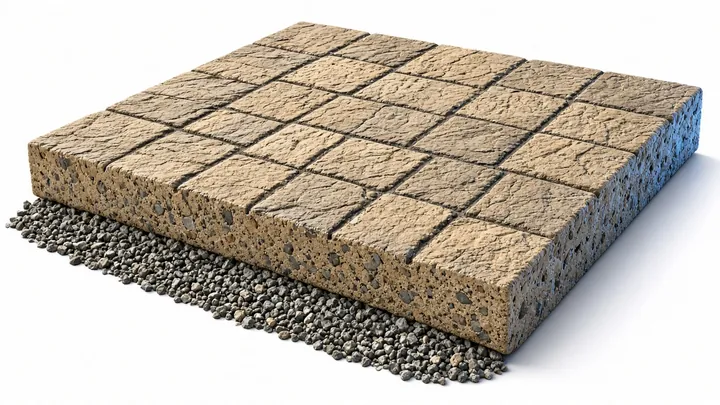
  • Cutaway illustration of a stamped concrete patio in an ashlar slate pattern of rectangular cut stones in desert tan with darker joints, colored all the way through, on a crushed stone base
    Example illustration

    Stamped

    Stamped ashlar slate

    Pattern tools are pressed into the concrete while it is still plastic to imprint cut stone. Color can be mixed in integrally, so it runs all the way through.

    On stamped patterns, control joints can be hidden in the pattern’s grout lines.

    General industry guidance, not a spec for your site.
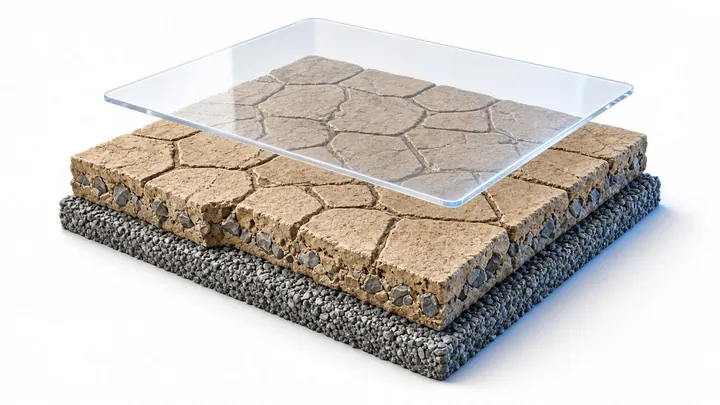
  • Exploded cutaway illustration of a stamped random-stone concrete slab in sandstone tan with a clear sealer layer floating above it, on a crushed stone base
    Example illustration

    Stamped

    Random stone, sealed

    Irregular natural-stone shapes, colored and antiqued so each stone reads separately, usually finished with a clear sealer that deepens the color.

    Decorative sealers are maintained over time; how often depends on the product and traffic. Ask about a resealing schedule in your plan.

    General industry guidance, not a spec for your site.
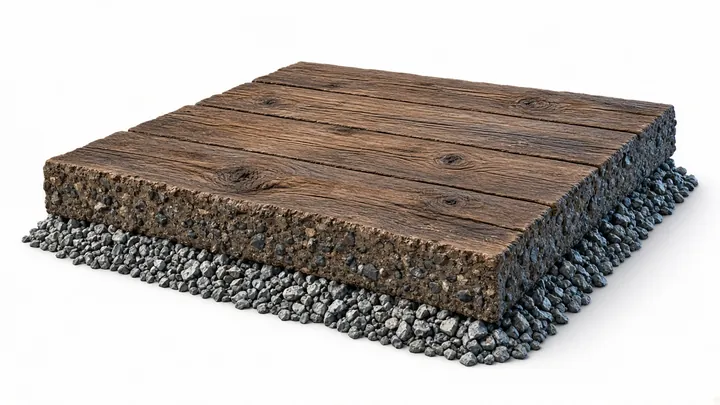
  • Cutaway illustration of a stamped concrete slab imprinted with weathered wood plank boards in walnut brown, colored through, on a crushed stone base
    Example illustration

    Stamped

    Wood plank, in concrete

    Plank stamps imprint board seams and grain, then color and antiquing give a timber look on a patio or porch, without boards to rot.

    Control joints can be hidden in the plank seams.

    General industry guidance, not a spec for your site.
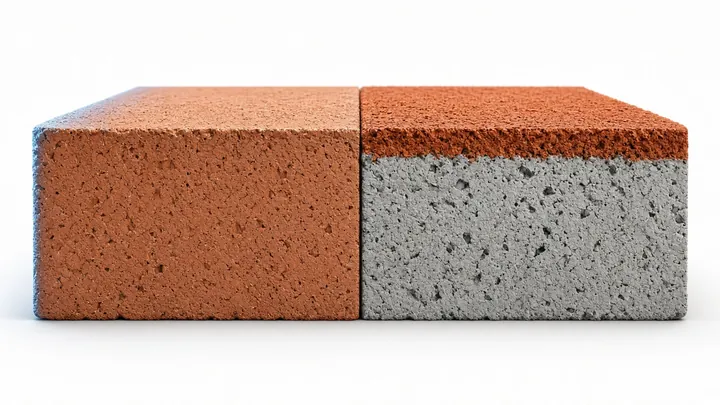
  • Illustration of a concrete block split in two: left half terra cotta color all the way through, right half gray concrete with only a thin terra cotta surface layer
    Example illustration

    Color

    Integral color vs. surface color

    Integral color is mixed into the whole batch, so a chip shows the same color. A dry-shake color hardener is broadcast onto the fresh surface and troweled in, giving more intense color on top.

    Both are standard decorative methods. Final color is chosen from physical samples in daylight.

    General industry guidance, not a spec for your site.
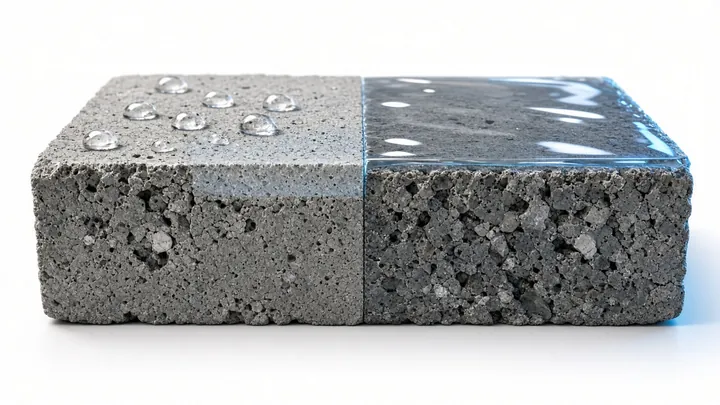
  • Illustration of a concrete block, left half with a penetrating sealer soaked into the pores and water beading on a matte surface, right half with a glossy clear film-forming sealer on top
    Example illustration

    Sealers

    Penetrating vs. film-forming sealers

    Penetrating sealers (silane, siloxane) soak into the pores and leave a natural look while repelling water. Film-forming sealers (such as acrylics) sit on top and add sheen and color depth.

    NRMCA suggests a breathable silane or siloxane sealer to help protect exterior slabs exposed to winter.

    General industry guidance, not a spec for your site.
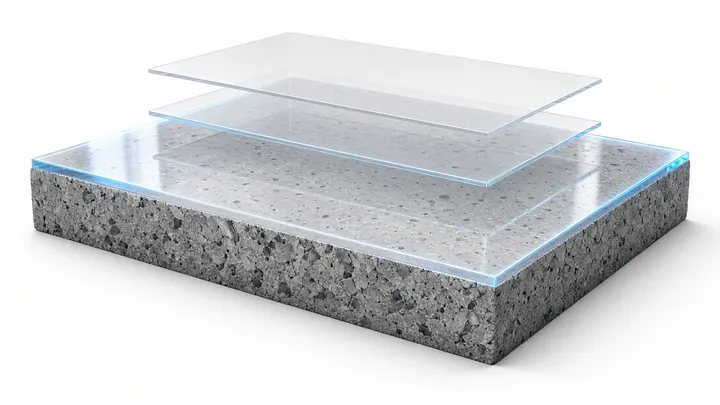
  • Exploded cutaway illustration of a mirror-polished concrete slab with two thin clear layers floating above it, representing densifier and a guard coat
    Example illustration

    Interior

    Polished concrete, layer by layer

    Ground and polished with progressively finer abrasives, then densified and protected for a glossy, hard-wearing interior floor.

    An interior finish. Outdoors, PCA advises against smooth surfaces because of reduced slip resistance.

    General industry guidance, not a spec for your site.

All cutaways are AI-generated example illustrations, simplified and not to scale. Your written plan sets the thickness, base, reinforcement, joints and finish for your project.

Finishes

Every surface. One honest guide.

What each finish is, where it works, and what it means for an Ohio winter.

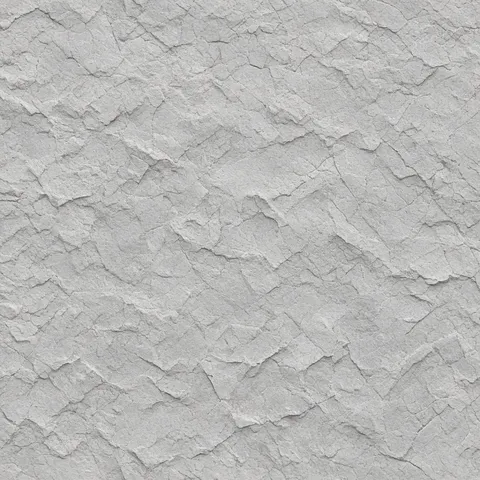
  • Broom finish texture (example illustration)Traction

    Broom finish

    A broom is pulled across the floated surface, leaving fine grooves. Stiff bristles give a coarser, grippier texture; soft bristles a finer one.

    Best for Driveways, walks, steps

    Ohio note For most exterior surfaces a broom finish is adequate.

  • Exposed aggregate texture (example illustration)Rugged

    Exposed aggregate

    The top cement paste is washed and brushed away to reveal the stone. PCA calls it rugged, slip resistant and highly immune to wear and weather.

    Best for Walks, driveways, patios, pool decks

    Ohio note Where it sees freeze-thaw and deicing salt, specify air-entrained concrete with 5% to 8% air and a maximum 0.45 water-cement ratio.

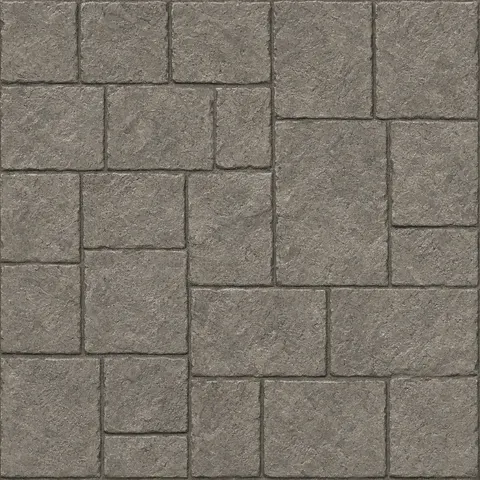
  • Stamped · Ashlar slate texture (example illustration)Signature

    Stamped · Ashlar slate

    Pattern tools are pressed into the concrete while it is still plastic to imprint the look of cut stone. Color goes in integrally or as a dry-shake.

    Best for Patios, walkways, pool decks

    Ohio note Control joints can be hidden in the pattern’s grout lines.

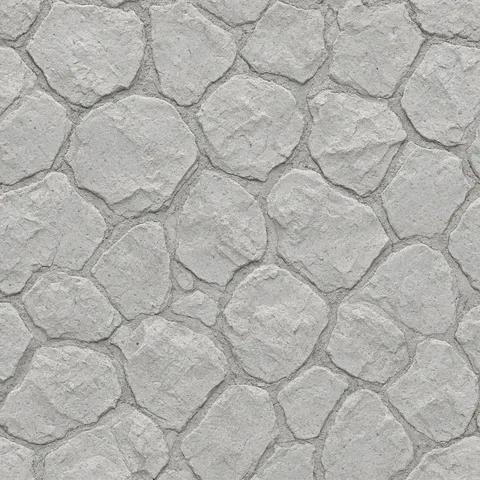
  • Stamped · Random stone texture (example illustration)Natural

    Stamped · Random stone

    Irregular natural-stone shapes pressed into the fresh surface, usually colored and antiqued so each stone reads separately.

    Best for Patios, walkways, pool decks

    Ohio note Control joints can be hidden in the pattern’s grout lines.

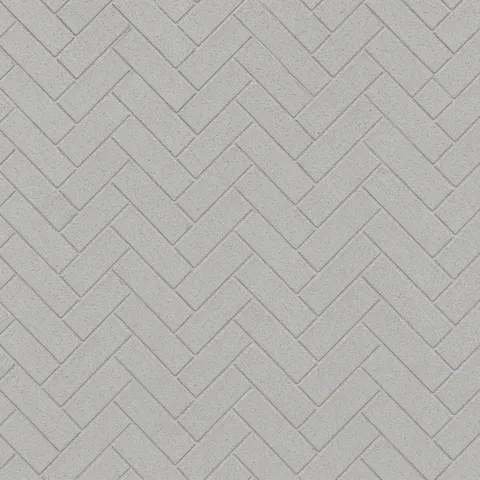
  • Stamped · Herringbone brick texture (example illustration)Classic

    Stamped · Herringbone brick

    A herringbone brick pattern imprinted into plastic concrete. Often used as a border around a broom or slate field.

    Best for Borders, walkways, patios

    Ohio note Control joints can be hidden in the pattern’s grout lines.

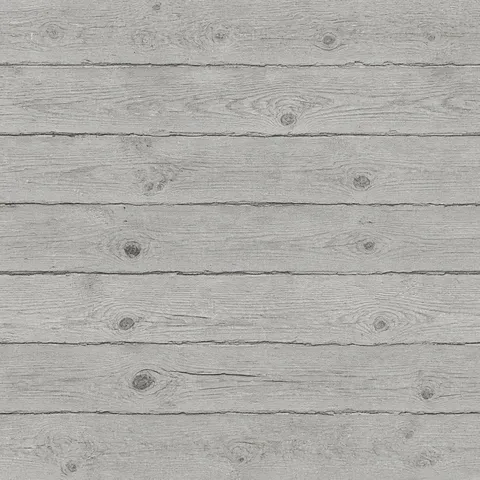
  • Stamped · Wood plank texture (example illustration)Warm

    Stamped · Wood plank

    Plank stamps imprint board seams and wood grain into the concrete, then color and antiquing give it a timber look without the rot.

    Best for Patios, porches, pool decks

    Ohio note Control joints can be hidden in the plank seams.

  • Stamped · Slate texture texture (example illustration)Seamless

    Stamped · Slate texture

    A seamless texture skin presses a natural slate cleft into the surface with no grout lines, so control joints are sawn as usual.

    Best for Driveways, patios, borders

    Ohio note Texture adds grip compared with a smooth finish.

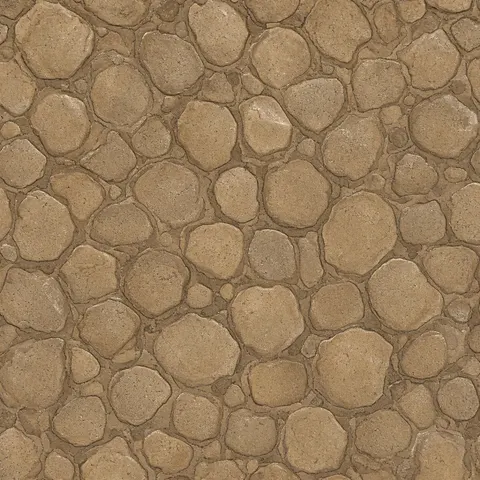
  • Stamped · Cobblestone texture (example illustration)Old-world

    Stamped · Cobblestone

    A deep cobblestone imprint pressed into partially set concrete, usually colored and antiqued for depth.

    Best for Patios, garden paths, borders

    Ohio note Control joints can be hidden in the pattern’s grout lines.

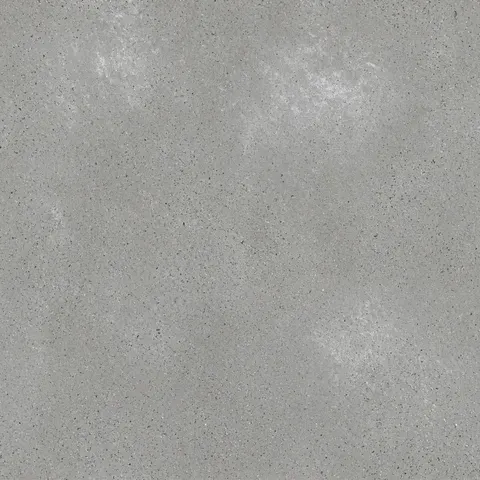
  • Smooth trowel texture (example illustration)Interior

    Smooth trowel

    Steel-troweled to a dense, smooth surface. The usual base for a garage or basement slab that will get a floor coating later.

    Best for Garages, basements, slabs getting a coating

    Ohio note PCA advises against smooth-troweled surfaces outdoors and in wet areas because of reduced slip resistance.

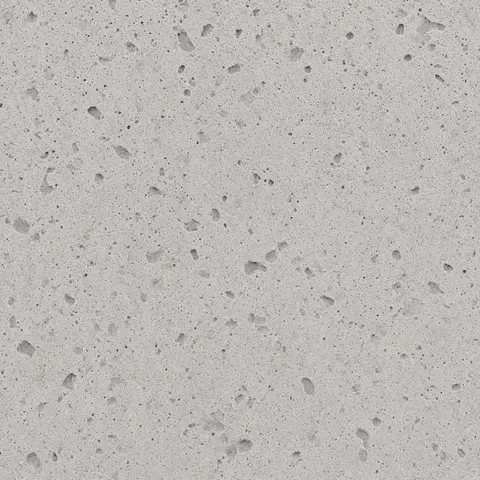
  • Rock salt finish texture (example illustration)Ask first

    Rock salt finish

    Coarse salt is pressed into the fresh surface and washed out after curing, leaving small pits.

    Best for Mild climates

    Ohio note PCA does not recommend rock salt finishes where it freezes: water trapped in the pits can freeze and spall the surface.

  • Polished (interior) texture (example illustration)Showroom

    Polished (interior)

    Ground and polished with progressively finer abrasives, then densified and sealed for a glossy, hard-wearing interior floor.

    Best for Basements, shops, showrooms

    Ohio note An interior finish.

Texture images are example illustrations.

Built for Ohio winters

Freeze. Thaw. Repeat.

Water soaks into concrete, freezes, expands and thaws, over and over each winter. Deicing salt makes it worse. That’s what causes scaling: the flaking, peeling surface you see on old driveways.

  • Air-entrained mix. Microscopic air bubbles give freezing water room to expand. NRMCA recommends about 6% air for exterior concrete exposed to freeze-thaw and deicers.
  • Strength for salt. Where deicers are used, NRMCA calls for 4,000 psi. ACI 332-20’s “very severe” exposure class sets 4,500 psi and a 0.45 maximum water-cement ratio.
  • No water added on site. Extra water weakens the surface. Finishing waits until bleed water is gone, and the surface isn’t overworked.
  • First winter, no salt. Use sand for traction. Never use ammonium sulfate or ammonium nitrate deicers.
  • Seal it. NRMCA suggests a breathable silane or siloxane sealer to protect exterior slabs from winter.

0 freeze-thaw cycles

Simplified diagram: freezing water damages concrete without air bubbles; entrained air bubbles relieve the pressure

Without entrained air, freezing water has nowhere to go. Pressure builds, microcracks grow and the surface starts to scale.

Simplified diagram, not to scale

The process

Eight steps. No shortcuts.

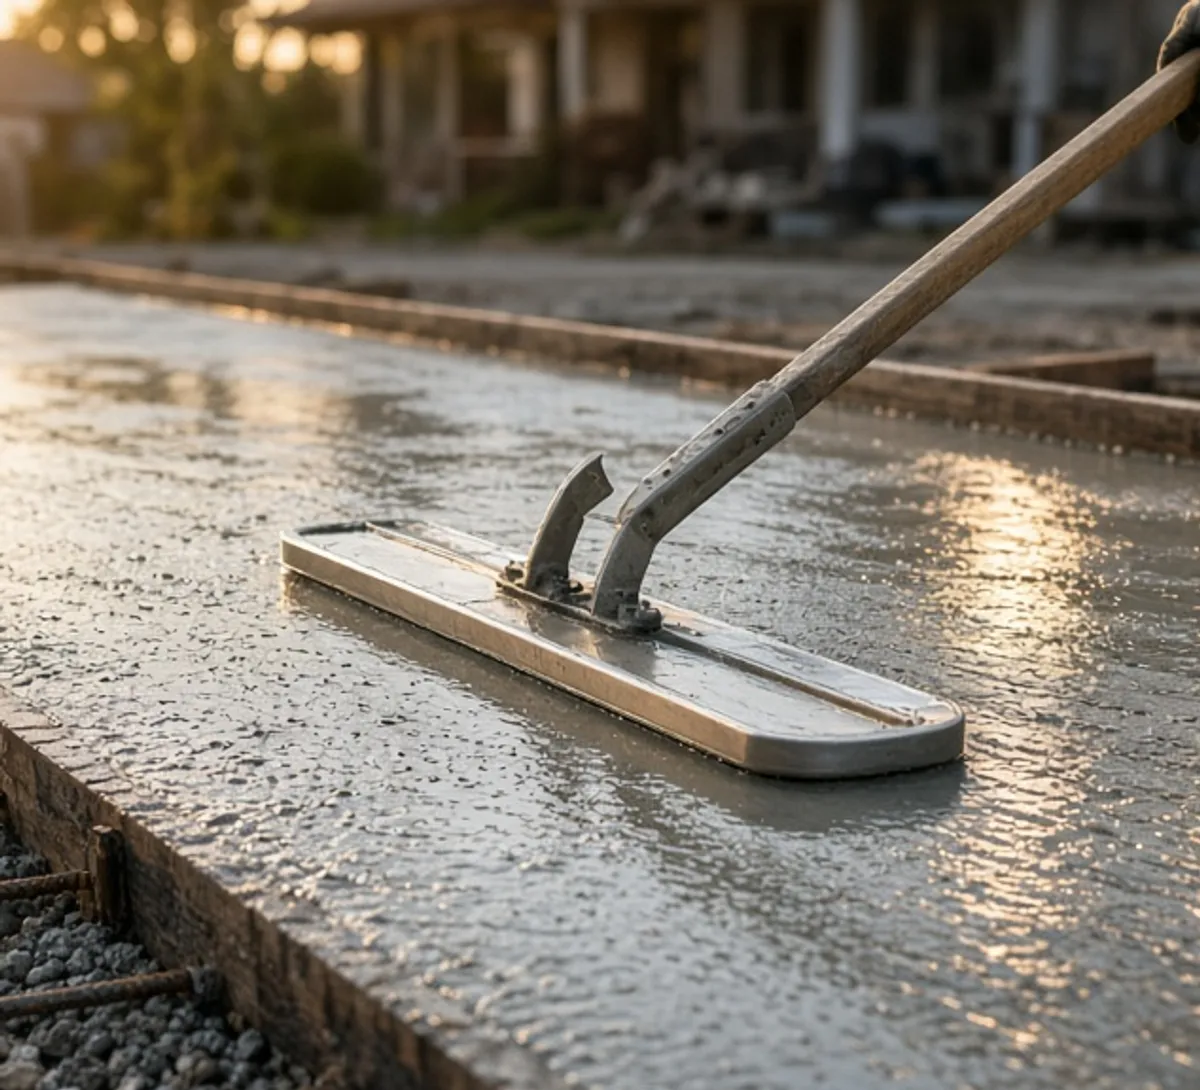
Fresh concrete being floated on a residential pour
Example illustration
  1. 01

    Walk the site

    We measure, look at soil, drainage, slope and access, and talk through how you’ll use the space.

  2. 02

    Your written plan

    Thickness, base, reinforcement, joint layout and finish, written down before anything is dug. Concrete Network advises asking for a jointing plan in every proposal.

  3. 03

    Excavate & grade

    Old concrete and soft soil come out. The grade is set to drain away from the house, at least ⅛″ per foot.

  4. 04

    Base & compaction

    Crushed stone in lifts, compacted to an even, firm bed.

  5. 05

    Forms & steel

    Forms set to line and grade. Reinforcement on chairs. Isolation joints where the slab meets the house, garage or walk.

  6. 06

    Pour & finish

    Placed, screeded and floated, finished after the bleed water is gone, then broomed, stamped or exposed.

  7. 07

    Joints & cure

    Joints cut on time (typically within 4 to 12 hours with conventional saws), then curing starts immediately.

  8. 08

    Protect it

    First-winter care, then a sealer and yearly checkups with 360° Concrete Care.

Tech specs

Compare by project.

Industry guidance for exterior concrete in a freeze-thaw climate. Your written plan lists the exact spec for your site.
SpecWalkway or patioCar drivewayHeavy-use driveway
Thickness4″4–5″5–6″ or engineered
Strength (28-day)4,000 psi where deicers are used · 4,500 psi for very severe freeze-thaw exposure
Entrained airAbout 6% (± 1.5%) for ¾″–1″ aggregate
Water-cement ratio0.45 maximum for very severe freeze-thaw exposure
ReinforcementFibers or wire meshWire mesh on chairs#4 rebar, about 12″ grid, on chairs
Joint spacing8–12 ft8–15 ft10–15 ft
Joint depthAt least ¼ of the slab thickness, 1″ minimum
DrainageAt least ⅛″ per foot, away from the house
FinishBroom, exposed or stampedBroom or exposedBroom
CuringStarts right after finishing; typically 3–7 days

Straight answers.

Can I see my new concrete before you pour it?

Yes. Upload one photo of your driveway or patio to the visualizer at the top of this page, then tap any finish or color. Each look you pick appears in your reel on that same photo, so you never upload twice. Previews and AI renders are example illustrations; final color and texture are chosen from physical samples.

How thick should a concrete driveway be?

Industry guidance: around 4 inches is common for walkways and patios, and 5 inches or more where larger trucks or RVs park. ACI 332 sets 3½ inches as the minimum for residential slabs on ground. Going from 4 to 5 inches adds about 20% to concrete cost and nearly 50% to load capacity. Your written plan sets the thickness for your soil and vehicles.

Will my new concrete crack?

Concrete shrinks as it cures, so some cracking is normal. Control joints decide where it happens. ACI 302.1R says random cracks in 0 to 3% of panels is a reasonable level. Good joints, a uniform base and proper curing keep it in that range.

Rebar, wire mesh or fiber?

Mesh is common for 4–5″ slabs and #4 rebar for 5″ and up. Fibers reduce early shrinkage cracking but aren’t structural reinforcement. None of them prevent cracks; they keep cracks tight. Your plan will say which we use and why.

What are control joints and how far apart should they be?

Control joints are planned grooves that make the slab crack in a straight line under the groove instead of randomly. NRMCA and ACI 302.1R guidance: cut at least ¼ of the slab depth, space them about 24 to 36 times the slab thickness and no more than 15 feet, in near-square panels, and saw-cut within about 4 to 12 hours.

What is air-entrained concrete, and why does it matter in Ohio?

Air-entrained concrete contains billions of microscopic air bubbles that give freezing water room to expand. NRMCA recommends about 6% air for exterior concrete exposed to freeze-thaw cycles and deicing salt, which describes Ohio driveways and walks.

Can I salt my new driveway?

Not the first winter. Use sand for traction. After that, use deicers sparingly, and never ammonium sulfate or ammonium nitrate.

Which finish is best for an Ohio driveway?

NRMCA says a broom finish is adequate for most exterior surfaces, and PCA describes exposed aggregate as rugged and slip resistant when the mix is air-entrained. PCA does not recommend rock salt finishes where it freezes, and advises against smooth-troweled finishes outdoors.

Should new concrete be sealed?

NRMCA suggests a breathable silane or siloxane sealer to help protect exterior slabs from winter. Decorative and stamped concrete is often finished with a sealer that deepens the color and needs resealing over time.

How long does new concrete need to cure?

Curing starts right after finishing and typically runs about 3 to 7 days. When you can walk or drive on it depends on the mix and the weather, and we’ll give you the timing for your pour in writing.

Can new concrete get a coating later?

Yes. We also install garage and patio coatings, so ask about one as part of your plan. New concrete needs to cure before it’s coated, and we’ll tell you when yours is ready.

What happens to the photo I upload?

Your photo stays in this browser for your visit, including if you also open the coating visualizer. After you unlock photoreal AI renders and pick a look, we store your photo, contact details and the designs you choose. We send the photo to our AI partner only when a render starts, and only to make that look. We keep them until you ask us to delete them by emailing estimates@luxuryconcretecoating.com or calling 937-789-3983. See our privacy policy.

Answers summarize published industry guidance They are general information, not a specification or guarantee for your project.

Start your project

Let’s design your new concrete.

Tell us what you’re pouring. We’ll walk the site, then send a written plan with thickness, base, reinforcement, joints and finish.

After the pour 360° Concrete Care Keep new concrete cleaned, sealed and checked every year with our yearly membership. See Concrete Care →

Request a free estimate

What are you pouring?

Prefer to talk? Call 937-789-3983.